For about a week, I kept looking at the piece and thinking about how I could piece together my own version. I thought and thought and thought, and I finally developed a plan.


Personally, I think it came out pretty good. The finished dimensions are about 6 x 4 x 1 1/2 inches. This was no easy task, though, so I'd like to offer some tips. If you have the money, just buy the Vera Bradley. I can appreciate the prices much more now, although I imagine their factories have a number of ways to make the process much smoother. If you don't have that much money, save some time by buying the pre-quilted fabrics at your local fabric store. I didn't like any of the prints, so not an option for me. And finally, don't try this craft if you are feeling rushed or impatient. You'll be ripping out a lot of sewing.
Here are the materials that I used:

You'll need:
-- Two coordinating fabrics. I started with a yard of each since I liked the fabrics. You would think that I would have gone to my stash (and I did consider it), but no. These fabrics caught my eye on the Red Tag clearance at JoAnn Fabric. The widest piece that you would need is about 15 in., so you can use up some scraps.
-- 1 Zipper (mine was 15 inches but I ended up trimming it a bit)
-- Light quilt batting. You'll only need about a 15 inch square
-- Some sort of clip. DH and I had a terrible time finding these. They ended up being in the jewelery section of the craft store and weren't exactly what we were looking for, but it works.
-- Coordinating thread
-- Disappearing ink/Mark-B-Gone pen or some other temporary marking tool.
-- Scissors
-- Straight pins
-- Seam ripper
-- Sewing machine (I want to give you a complete list :-) )
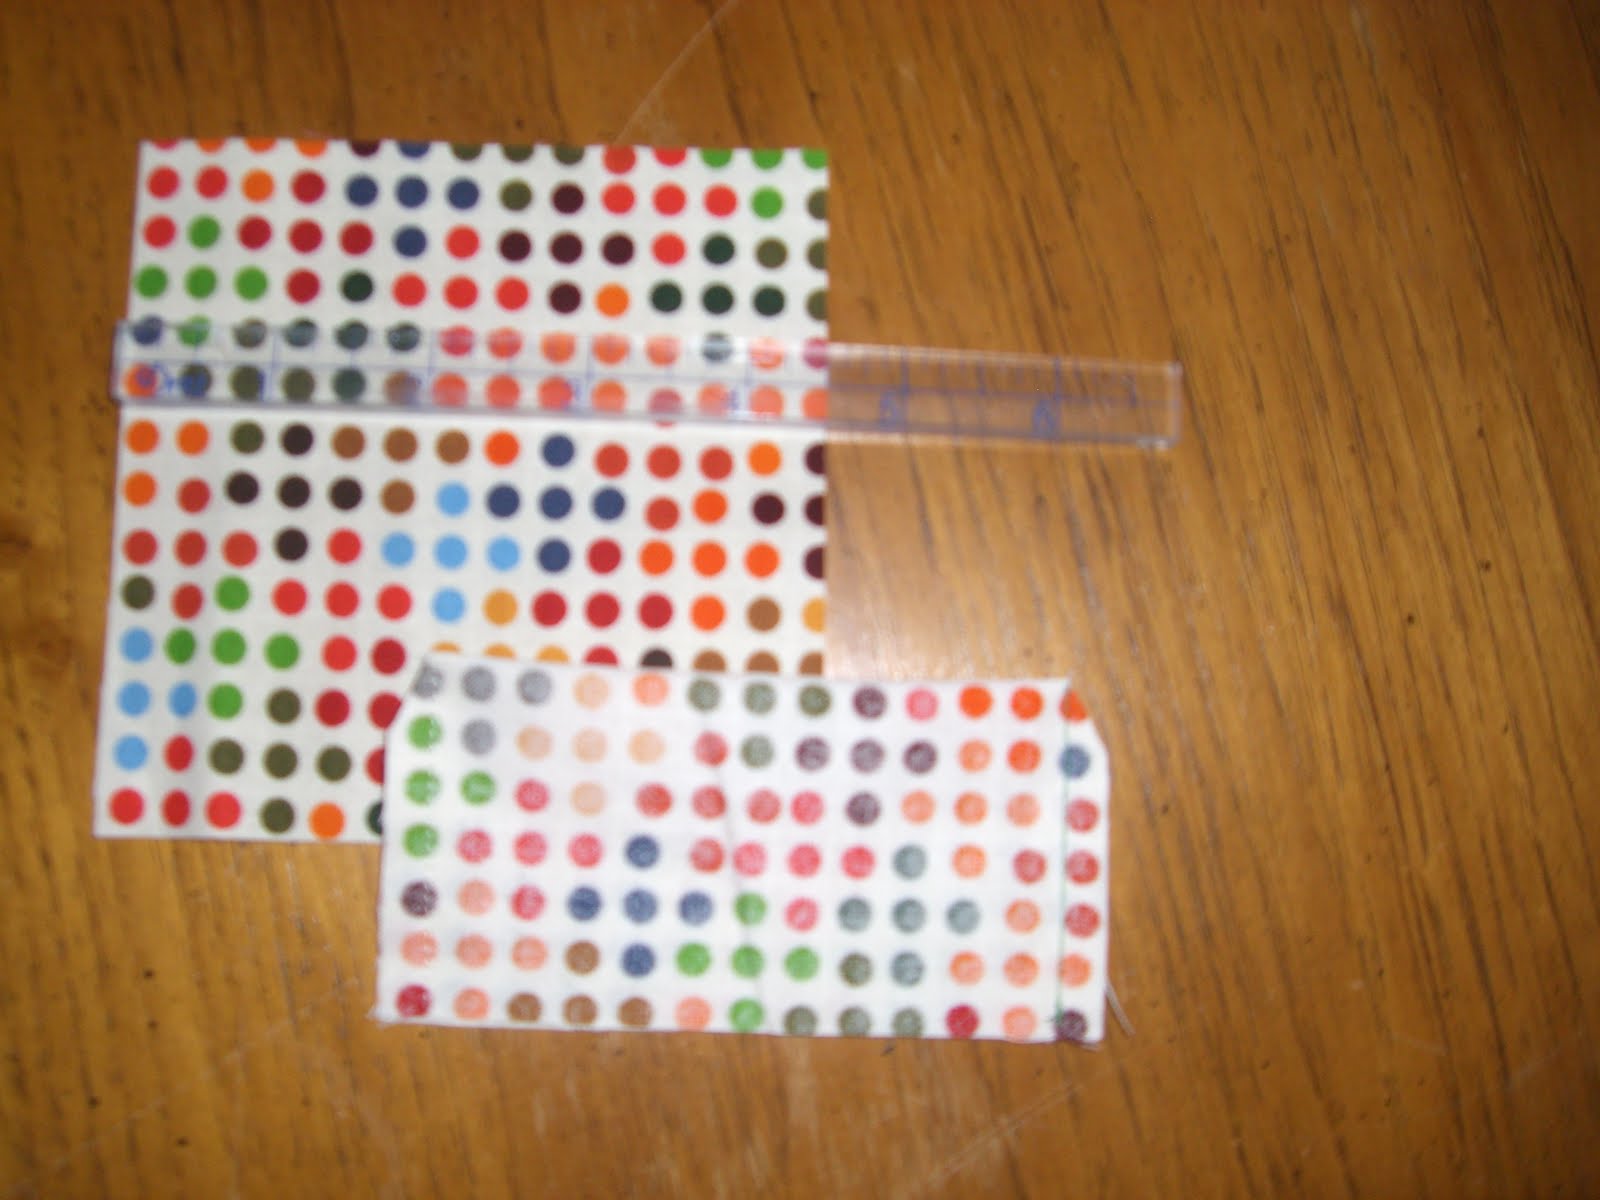
I started the process by making a 15 x 13 inch rectangle of quilted fabric, although if I were to do this again, I would probably make it a little bigger (15 x 15) because all the sewing shrunk the size a bit. Start with a fabric sandwich: liner fabric (right side down), batting, outside fabric (right side up). Mark lines at a 30 degree angle 3/4 inch apart in a criss-cross pattern on the right side of either fabric. I used a disappearing marker to do my lines. If you do this, make sure to work quickly. By the time I was done sewing, I could barely see the lines any more.

 On the left is the marked fabric. On the right is the finished sewing. I was trying to show that I used a contrasting thread on the back. I figured since I was using such a bold liner, I might as well use a bold thread choice, too.
From this quilted fabric, cut two panels (7 1/4 x 5 inches with curved corners... I can post pattern pieces if anyone is interested) and one rectangle gusset (12 3/4 x 2 3/4 inches). I debated how to cut these out. Just be sure that the diamonds on your two panels go the same direction.
In addition to these piece, you'll also need the following:
2 pockets from outside fabric (7 1/4 x 6 1/2 inches with the same curved corners)
2 pockets from inside fabric (4 1/2 inches square)
1 piece for zipper from outside fabric (13 1/4 x 3 inches) cut in half lengthwise (2 pieces 1 1/2 inches wide)
1 piece for zipper from inside fabric (13 1/4 x 3 inches) cut in half lengthwise (2 pieces 1 1/2 inches wide)
1 strip for handle from inside fabric (12 x 1 1/4 inches)
1 piece for ring from inside fabric (1 1/2 inches square... I think... I didn't write that down) You may want two of these if you want to be able to clip the strap on the other side to make this into a purse.
Pockets:
Fold the two large pocket pieces in half, wrong sides together, to make a piece 7 1/4 x 3 1/4 inches and press. Set aside.
Fold the two small pocket pieces in half, right sides together, and sew 1/4 inch seam on two short sides, leaving the bottom open. Clip the corners, and turn the pieces right side out.
Center the two small pockets on each larger piece. Sew the smaller pockets onto the larger pockets as close to the edge as possible. Set aside.

I have to admit, just writing all this is making me tired.
Zipper


For this, I pressed 1/4 inch on the long sides to the wrong side of the fabric. After that I folded the piece in half long side, right side out, and pressed. Stitch along the long edge as close to the opening as possible. Attach the clip to one end. To make the fabric ring holder, sew the 1 1/2 inch square fabric, right sides together with a 1/4 inch seam. Turn right side out and press.
 Quilted guesset
This was a tricky one. Since this piece is cut from the quilted piece of fabric, I had to remove some of the quilted stitches with the seam riper. I removed enough to have about 1/2 inch of fabric unsewn. I then cut the 1/2 inch of exposed quilt batting from the piece. Fold and press a 1/4 inch of both fabrics to the inside. Top stitch across so that the edge is finished. On one side, insert the strap and the piece inserting the fabric ring.
Bag construction
Sigh. I hate pinning, but there was just no way around this one. With curved edges and gussets, pinning was a necessity. I also chose to do French Seams again, so yeah. What was I thinking. This part of the project was what made me
 Place the pocket piece you set aside on the inside of the first purse panel, matching the curved edges (the open bag picture back at the top could help you visualize this). Start by pinning the zipper gusset wrong sides together with the first purse panel. I marked the middle of the purse piece, found the middle of the gusset, and started pinning from there. I chose to open the zipper so the fabric wasn't quite so bulky. If you need to trim your zipper, now is the time. I trimmed mine and sewed over to create a new zipper stop.
Repeat the process with the quilted gusset, making sure to pin through the purse panel and the pocket. Try to make sure that the edges of the gussets are parallel to each other so your purse isn't crooked. The quilted gusset will overlap the zipper. Sew all the way around with a 1/4 inch seam. After sewing around, trim close to the seam without cutting the stitches.
Start the process again, matching right sides together now to make the pretty French Seam. Pin carefully and sew 1/4 inch seam.
Repeating this process to attach the other side of the purse can be a little complicated since the gussets won't be as flexible. In fact, I have another sewing project on my sewing cabinet that is stopped at this very point. Make sure you do zip the zipper, though, so that the zipper will match once sewn. Leave the zipper open just a little for turning. Start by matching wrong sides together (I got myself confused and had pinned the whole thing when I realized I did it wrong and had to unpin and repin the whole thing. Grr.), sew, trim, pin right sides together, sew, and TADA!
Tips on sewing. The corners will be tricky. Be careful not to have the material be too bunchy. I bunched a little too much on one side, and the gusset turned out a little crooked at the end. Did I rip it out and start over? No way. This is a homemade project. Perfection is not necessary.
I have a bit of the quilted fabric left over and have been thinking about things to do with it. I think maybe I'll make a coin purse, but I was also considering a key fob. Can't waste a good scrap of fabric, especially one that took me so long to create.
So, any brave souls out there that will try this?
And how proudly will you beam over your achievement when someone compliments you on it and assumes that it is the real VB? :)
ReplyDeleteI love your finished product! I know exactly what you mean about seeing something and going "I could make that myself and save so much money!" I keep seeing cardigans that I want, but I'm too cheap to spend $19.99. So I hunt up a pattern and spend about that much on yarn and devote months to knitting a version that I don't like half as much. But it's fun! ...Right?!
ReplyDeleteI like that, Kelly. Right?? The icing on the cake for all of this was that my bobbin winder on my sewing machine decided to break in the middle of all of this, so I was hoping for a bread and fish miracle to make the thread last long enough to finish the project :-) Jeff was also working while I was sewing so I couldn't be quite as verbal as I normally am with my sewing machine. But yeah, it's fun. And I think I will look forward to telling people I made the bag myself.
ReplyDelete